What is CarPlay?
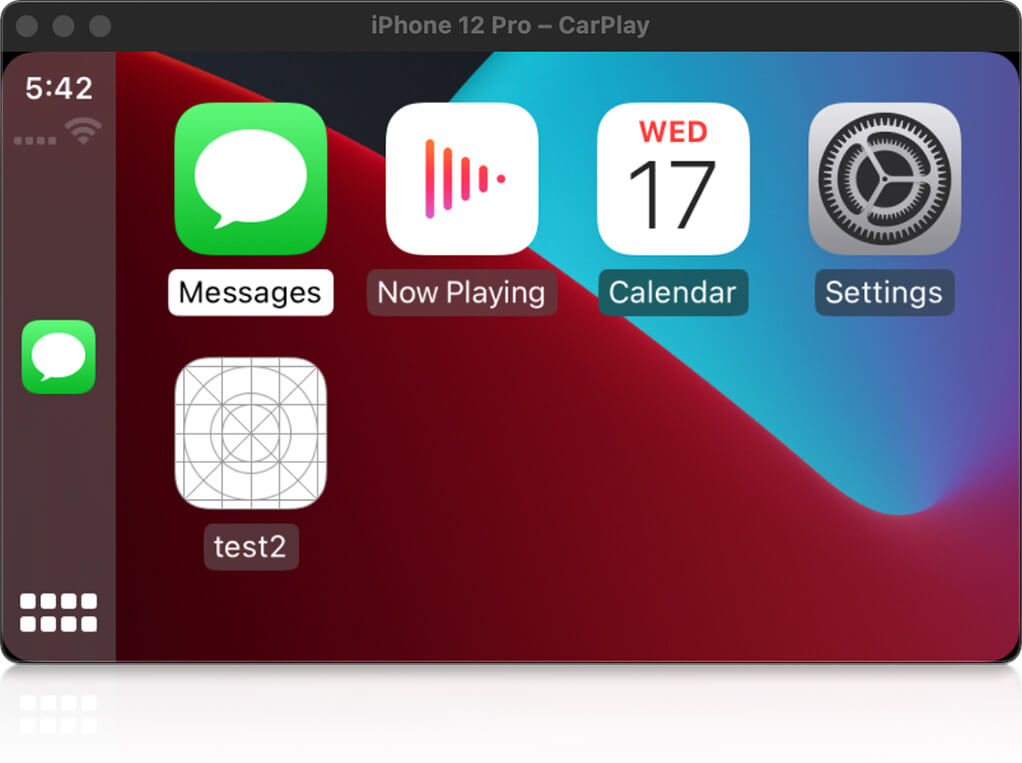
CarPlay is an Apple car integration standard that allows you to display content from your iPhone onto your compatible car head unit and control your phone. Common uses for this include casting music from services such as Spotify or Apple Music or for trip navigation using a map application.
As CarPlay advances with each iOS release, more and more app categories are added, opening the door for more third-party apps to be created and accessed on your car head unit. Recently added categories include fast-food ordering apps and EV charging discovery apps which means that CarPlay is becoming more accessible than ever and is being added to an increasing number of apps.

How does CarPlay work?
CarPlay provides a series of templates the developer can use to display application data. These are highly opinionated and ensure that the provider user interface is safe for use within a car. The availability of these templates varies depending on the type of application you are developing. For example, a navigation app can utilize a large array of templates including map controls, lists, and grids. In contrast, a fast-food ordering application is restricted to using a smaller subset of templates. For highly specialized application types such as EV Charging providers, a special Point of Interest template is provided, which displays multiple points on both a map and a list simultaneously for you.
CarPlay and React Native
Using CarPlay with React Native is a pretty new concept but there is a package available on npm called react-native-carplay which is making great progress in this area. The React Native part of this library is written in Typescript, which provides appropriate typings for use within your application. The package allows you to create most of the supported templates and control the CarPlay display stack via pushing and popping templates to and from the display. Further to this, it provides hooks for CarPlay connection/disconnection, allowing you to react accordingly within your application.
Getting setup with this package requires a little bit of native code, but once this is done, everything should be done in the React Native side from then on. You can find full instructions for these steps in the package’s readme. For this reason, react-native-carplay is not supported in a managed expo environment at this time as this setup does not allow you to edit any of the native code yourself without first ejecting from the managed workflow.
When wishing to publish a CarPlay application to the app store, you must have requested the appropriate entitlements from Apple. However, during development, you can use the built-in CarPlay simulator. The latest iOS 14 simulator appears to be fully featured and acts almost identically to a physical CarPlay unit.
Integrate CarPlay into your React Native Application
When adding CarPlay to an existing React Native application, you really want to keep the phone and CarPlay screens in sync. This will allow you to hand off between the two when connecting/disconnecting from the CarPlay system. For example, if you’ve searched for a song on your phone and then connected to CarPlay, you would want CarPlay to start with your selected song on the screen. For this reason, it is best to create the appropriate CarPlay Template for your screen in the same location as the paired phone screen code within a useEffect or similar.
Adding a template
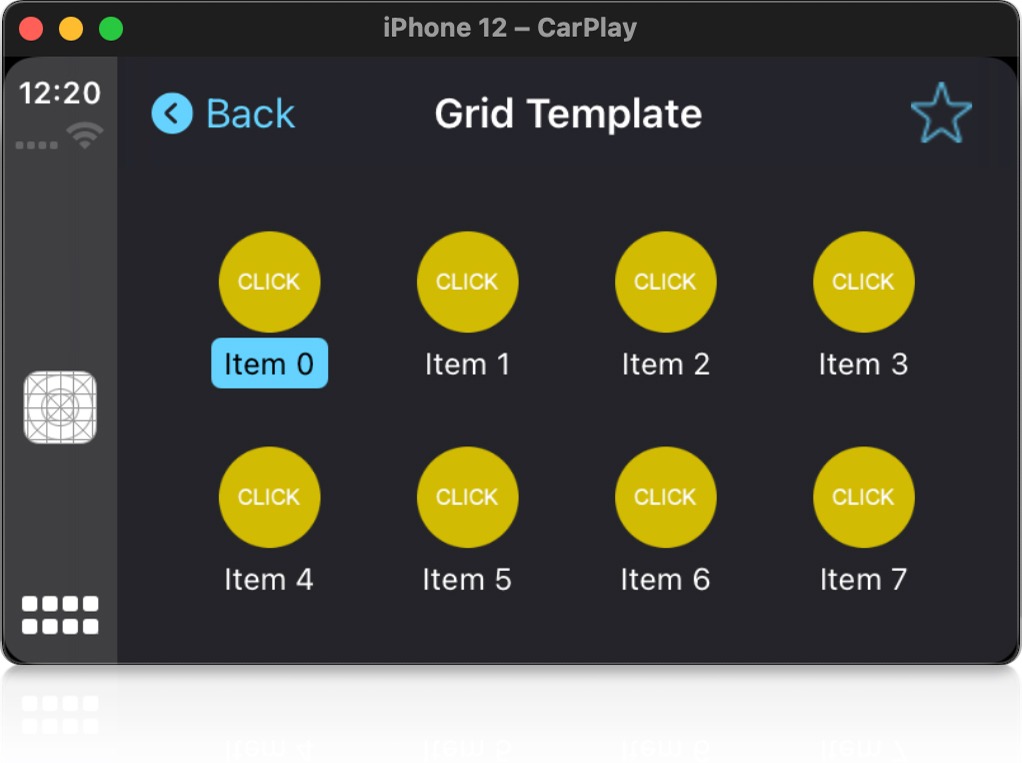
Let’s start by adding a simple CarPlay menu to a React Native application. When working with the CarPlay display stack, you must always have a root template. This is the base template that sits at the bottom of the display stack and usually takes the form of a GridTemplate or a MapTemplate depending on the type of application. A Grid can display up to 8 buttons along with bar buttons at the top of the screen for quick links to settings / volume / voice control etc.
import React, { useEffect } from 'react';
import { View, Text } from 'react-native';
import { CarPlay, GridTemplate } from 'react-native-carplay';

export function Index() {
  useEffect(() => {
    const gridTemplate = new GridTemplate({
      buttons: [
        {
          id: item0,
          titleVariants: ['Item 0],
          image: require('images/button.png'),
        },
        {
          id: 'item1',
          titleVariants: ['Item 1],
          image: require('images/button.png'),
        }
  // ...
      ],
      title: 'Grid Template',
    });

    CarPlay.setRootTemplate(gridTemplate);
  }, []);

  return (
    <View>
		<Text>Hello, world</Text>
    </View>
  );
}
Here you can see that we have created a new GridTemplate and called CarPlay.setRootTemplate within a useEffect. This ensures that this code is called only once and does not recreate the CarPlay template on every re-render of the react component because there are no dependencies passed to the useEffect.
Handling connect / disconnect
When working with CarPlay, we only want to render templates when we’re connected, otherwise we could easily cause an error. react-native-carplay allows us to register a connection callback on the CarPlay class to signal a connection and render our Template at that time. We can add the connection state as a dependency to the useEffect in order to ensure it runs when the connection state changes.
import React, { useEffect, useState } from 'react';
import { View, Text } from 'react-native';
import { CarPlay, GridTemplate } from 'react-native-carplay';

export function Index() {

// default the carplayConnected value to the connected state of the CarPlay class
	const [carPlayConnected, setCarPlayConnected] = useState(CarPlay.connected);

  useEffect(() => {
    function onConnect() {
      setCarPlayConnected(true);
    }

    function onDisconnect() {
      setCarPlayConnected(false);
    }

// register connect and disconnect callbacks
    CarPlay.registerOnConnect(onConnect);
    CarPlay.registerOnDisconnect(onDisconnect);

    return () => {
// unregister the callbacks in the return statement
      CarPlay.unregisterOnConnect(onConnect);
      CarPlay.unregisterOnDisconnect(onDisconnect);
    };
  });

  useEffect(() => {
	// only create the template if connected
	  if (carPlayConnected) {
		const gridTemplate = new GridTemplate({
			buttons: [
			  {
				id: 'List',
				titleVariants: ['List'],
				image: require('images/button.png'),
			  },
			  {
				id: 'Grid',
				titleVariants: ['Grid'],
				image: require('images/button.png'),
			  }
			],
			title: 'Hello, world',
		  });

		  CarPlay.setRootTemplate(gridTemplate);

		// clean up the grid template in the return statement
// this will only be run when carplayconnected changes
// to false, or the component is unmounted
		return () => {
	gridTemplate = undefined;
}
	  }

  }, [carPlayConnected]);

  return (
    <View>
		<Text>Hello, world</Text>
    </View>
  );
}
In the above example we’ve used both the connected state of the CarPlay class and the registerOnConnect function to ensure our grid template is created and torn down when connected and subsequently disconnected from a CarPlay display. Adding carPlayConnected as a dependency of the second useEffect ensures that the function runs whenever the value changes. In more complicated examples, you may need to store a reference to the template you have created between renders using the useRef hook. In this case, the return statement of your useEffect is even more important as this is where you would remove your references and perform any necessary clean up operations.
Updating templates
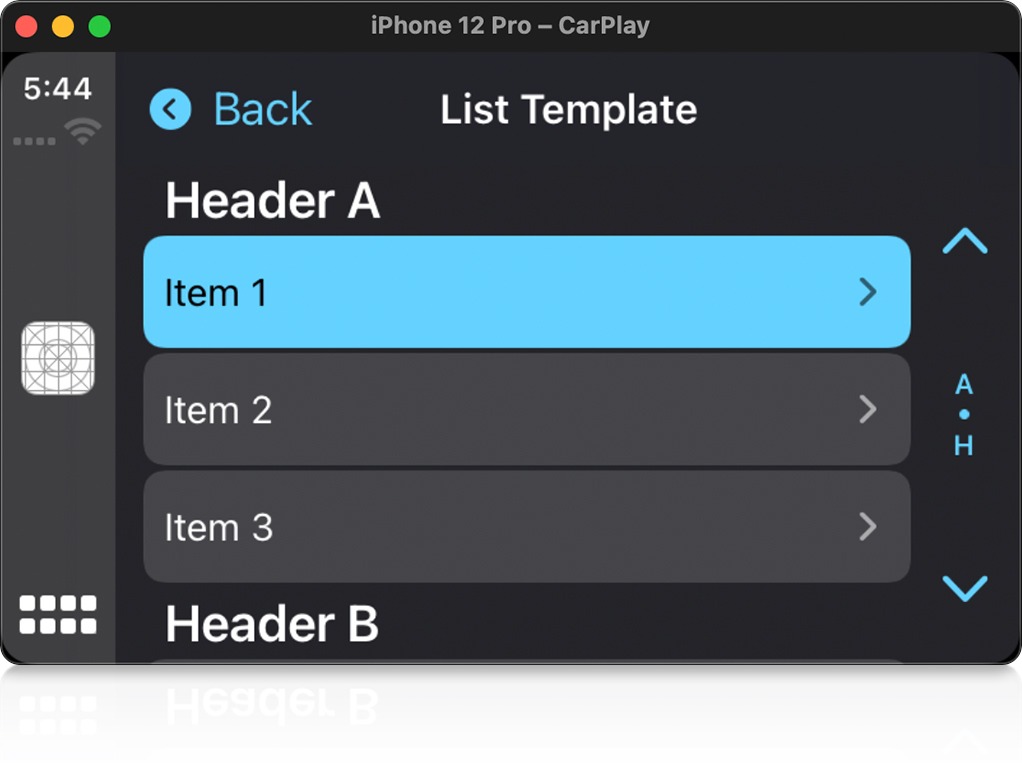
Some templates such as ListTemplate allow you to update them via an api once they have been created. For example, a list template can have its items updated via an updateSections function where sections are grouped arrays of items. The below example shows how you could update list items when new search results become available. It makes use of the useRef hook to ensure that the same List Template is used in every render.
import React, { useEffect, useRef, useCallback } from 'react';
import { View } from 'react-native';
import { CarPlay, ListTemplate } from 'react-native-carplay';

export function Index() {
	const listTemplate = useRef<ListTemplate>();

	useEffect(() => {
		listTemplate.current = new ListTemplate({
			title: 'Results',
			sections: []
		  });

		  CarPlay.pushTemplate(listTemplate.current);

		  return () => {
			  listTemplate.current = undefined;
		  }
	  }, []);

	  const onResults = useCallback((results) => {
		listTemplate.current.updateSections(results);
	  }, [listTemplate]);

  return (
    <View>
		<Search onResults={onResults}/>
    </View>
  );
}
As you can see in the above example, the onResults callback is calling the updateSections function on the listTemplate which is in turn displaying those new list items on the CarPlay screen. Creating a ref to the List Template and calling the update function in this way means that it will not have to recreate an entirely new template on each change and will provide the user with a better experience. More information about what is possible with each template can be found in the Apple CarPlay documentation. At this point, not all functionality is fully implemented in the react-native-carplay package but it is getting better over time and we at SitePen are actively contributing to its development.
Conclusion
Adding CarPlay to your application will help it to stand out against other applications without CarPlay support. It is being fitted by more and more car manufacturers and has been quicker to market with third-party API access than its main rival for android based phones Android Auto. Apple is adding more functionality and application types to CarPlay with each release making it a better time than ever to consider adding support to your application.
Until recently, adding CarPlay support to a react native application would have meant writing a great deal of native code yourself but the react-native-carplay package solves this problem for you and provides you with a type-safe library to use in your React Native application. A more complete application example can be found in the /example directory of the react-native-carplay GitHub repository.
